Theory of Mechanism and Machine II
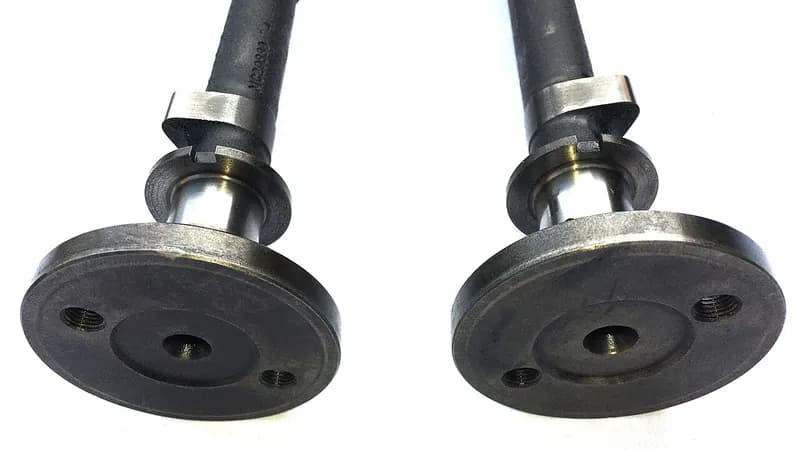
Photo by HReuter on Wikimedia Commons, CC BY-SA 4.0
Chapters
Tap the ring to track each chapter: Seen → Known → Confident
- 1
- 2
- 3
- 4
- 5
- 6
- 7
- 8
- 9
- 10
Photo by HReuter on Wikimedia Commons, CC BY-SA 4.0
Tap the ring to track each chapter: Seen → Known → Confident